Now you know what tools are required for MCU based development. And
you are familiar with their uses. Now time to start some real
development.To cover these parts you must have some basic knowledge and
tools of electroniccircuit fabrication. So now, let us start with the
most important tool the programmer.
Making a programmer.
There are many different types of programmers available on the net. The
basic difference is their interface with the PC. Basically, there are
three types of programmers.
- Serial Port based
- Parallel Port based
- USB Port based.
Of these serial port based and parallel port based programmers are easy to
make in minimal cost. However, the parallel port is little bulky as compared
to serial port, I prefer serial one. One of the best programmers I have come
across is PonyProg(http://www.lancos.com) Serial Device Programmer it is a package
of simple and low cost programmer with easy to use GUI software. I have been
using it from long time. So here I will teach you to make PonyProg device programmer.
| Note |
| As the serials and parallel ports are very old
technologies they are fast disappearing from PCs. Most laptops are not
having them and even desktops are dropping them. Therefore, its no surprise
that your PC does not has serial ports. In this case, you have to use
USB AVR programmer. See our shop http://shop.extremeelectronics.co.in
it’s available for only Rs320 ($6.00). The future is USB. |
Things you will need.
|
S .No
|
Component
|
Value
|
Qty
|
| 1 |
Transistor |
BC 547 |
1 |
| 2 |
Zener Diodes |
5.1V |
2 |
| 3 |
Resistor |
3.3K |
2 |
| 4 |
Resistor |
10K |
1 |
| 5 |
Resistor |
15K |
1 |
| 6 |
DB9 Female connector |
|
1 |
| 7 |
6 Pin Connector |
|
1 |
| 8 |
General purpose PCB, Wires |
|
- |
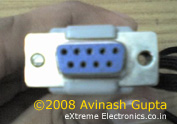
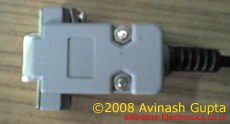
DB9 connector is which connects to your PCs serial Port. Its looks like this.
 |
 |
A DB9 Connector.
|
And the 6 Pin connector will make you programmer easy to connect/disconnect
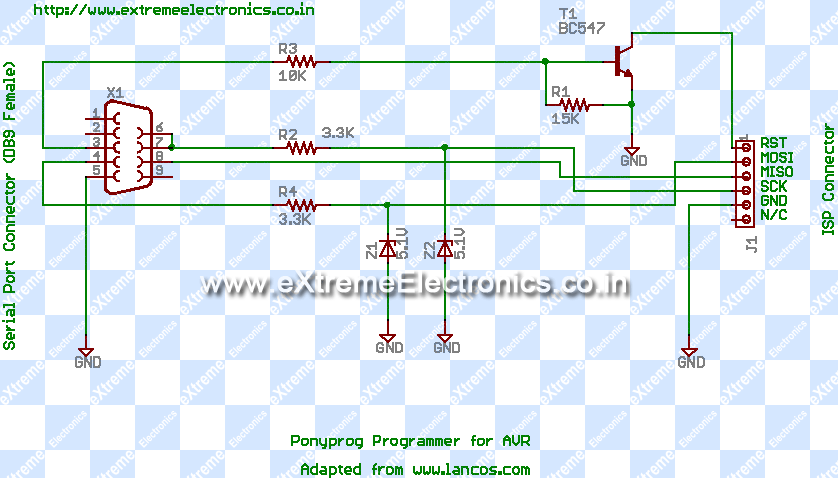
from the target board. Now assemble the programmer according to the schematic.
Note that the pin numbers are marked on the DB9 connector itself.


